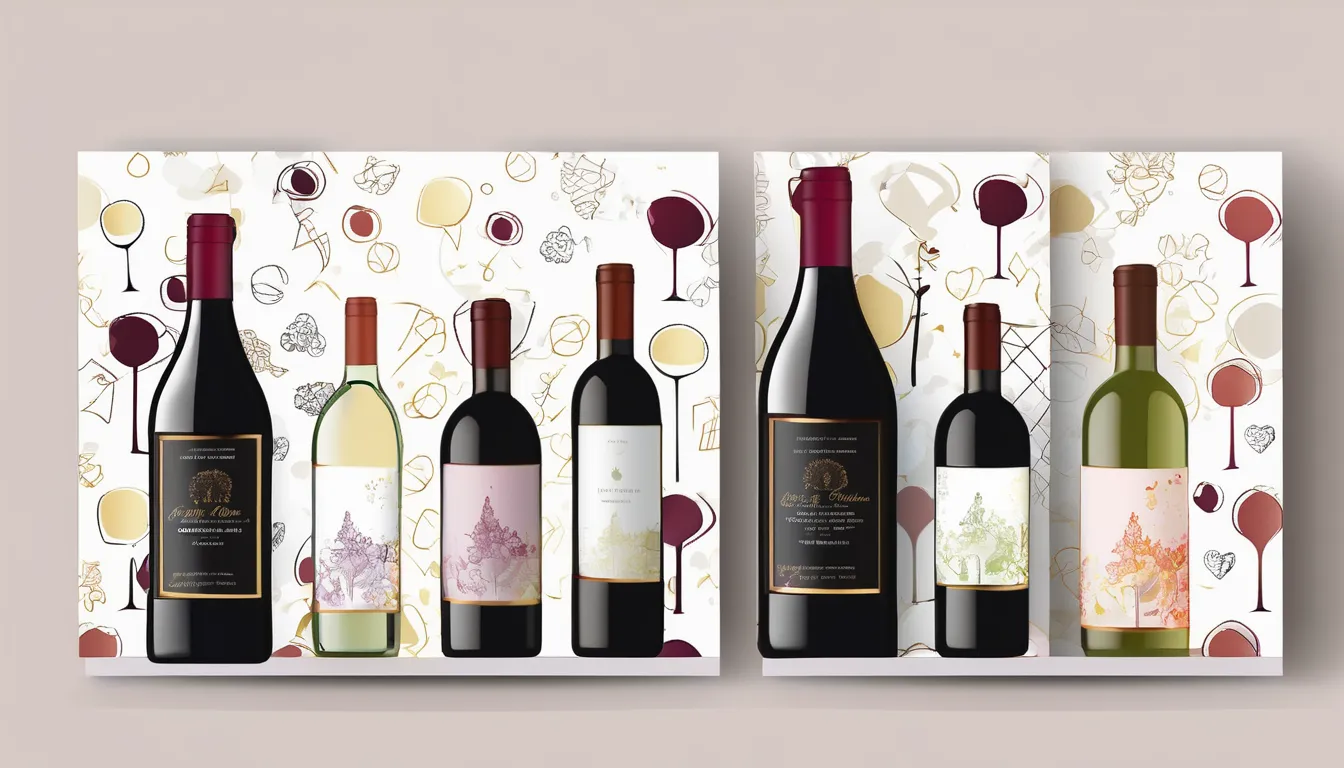
When you create your own wine bottle labels, you’re not just adding a decorative touch; you’re infusing a piece of your personality into each bottle. With the right design elements, you can tell a story or evoke a memory that resonates with your guests. Whether it’s a wedding, birthday, or a simple gathering, a personalized label can elevate the experience. But how do you choose the perfect design and materials to make your vision a reality? Let’s explore some key steps that will help you craft labels that truly stand out.
Choosing Your Label Design
When you’re selecting a design for your wine bottle label, think about the story you want to tell. Your label is more than just a decorative element; it reflects the essence of your wine and the experience you want to convey.
Begin by considering the type of wine you’re producing. Is it a bold red that evokes sophistication, or a light white that speaks to casual enjoyment? Your design should resonate with these characteristics.
Next, choose colors that reflect your wine’s personality. Darker hues might denote richness and complexity, while lighter tones can suggest freshness and approachability.
Typography is another crucial element. The font you select should be legible but also align with the overall vibe of your label.
Don’t forget to think about imagery. Whether you use illustrations, photographs, or simple graphics, they should enhance your story rather than distract from it.
Materials You’ll Need
Creating a stunning wine bottle label involves more than just design; you’ll need the right materials to bring your vision to life. Start by gathering everything you’ll require to ensure a professional-looking finish.
Here’s a list to help you get organized:
- High-quality label paper: Choose a durable, waterproof material that’ll withstand spills and condensation.
- Printer: A reliable inkjet or laser printer will give you the crisp colors and details your design deserves.
- Cutting tools: Use scissors or a paper cutter for straight edges, ensuring your labels fit perfectly on the bottles.
- Adhesive: Depending on your label paper, you might need a strong adhesive or double-sided tape for secure application.
With these materials at hand, you’ll be well-equipped to create labels that not only look great but also hold up over time.
Remember, investing in quality materials can elevate your project, making it worthy of gifting or displaying at your next gathering.
Step-by-Step Label Creation
Designing your wine bottle label can be an exciting process that transforms a simple bottle into a personalized masterpiece. Start by choosing a design software or a template that suits your style. Many online platforms offer user-friendly tools, so you won’t need extensive graphic design skills.
Next, decide on the dimensions of your label. Standard wine bottle labels usually measure around 3.5 inches by 4 inches, but you can customize this based on your bottle shape. Once you’ve determined the size, select a background color or pattern that complements your wine.
Now, add text to your label. Include essential information such as the wine’s name, vintage, and your name or the name of the occasion. Choose fonts that enhance readability and align with your theme.
After that, incorporate images or graphics if desired. This could be a logo, a personal photo, or decorative elements. Make sure they’re high-quality to ensure the final product looks professional.
Tips for Personalization
Personalizing your wine bottle label adds a unique touch that makes it memorable beer labels both you and your guests. Every detail counts when it comes to creating an unforgettable experience.
Here are some tips to help you add that personal flair:
- Choose a Meaningful Color Scheme: Select colors that resonate with the occasion or your personal brand. Think deep reds for elegance or bright pastels for a cheerful vibe.
- Incorporate a Special Font: Opt for a font that reflects your style—whether it’s classic script or modern sans-serif. This can convey your personality and set the tone.
- Add Personal Images: Include a cherished photo or a meaningful graphic. It could be a family portrait, a landscape from a memorable trip, or a whimsical illustration that brings a smile.
- Craft a Unique Message: Write a heartfelt message or a fun quote that connects with the wine’s purpose. It could be a toast, a date, or a simple “Cheers!” that captures the moment.
Creative Ideas for Occasions
For special occasions, a custom wine bottle label can elevate your celebration and make it truly unforgettable.
Whether you’re hosting a wedding, anniversary, or birthday party, adding a personal touch to your wine selection creates a memorable experience for your guests.
Consider designing labels that reflect your theme or the personality of the event. For weddings, you might include the couple’s names and wedding date, paired with romantic imagery.
If you’re celebrating a milestone birthday, think about incorporating fun facts or cherished memories about the honoree.
Holidays are another great opportunity for creative labels. For Christmas, design labels featuring festive graphics or seasonal greetings.
You could even create a personalized label for a New Year’s Eve party, inviting guests to toast to new beginnings.
For baby showers or gender reveal parties, use labels that indicate the baby’s name or a playful hint about the baby’s gender.
Conclusion
Creating your own wine bottle labels is a fun and meaningful way to enhance any occasion. By choosing thoughtful designs and personal touches, you can turn ordinary bottles into cherished keepsakes. Whether it’s for a wedding, birthday, or holiday gathering, your custom labels will surely impress your guests and make your celebrations even more memorable. So grab your materials, unleash your creativity, and enjoy the process of crafting labels that reflect your unique style and sentiment.


